 Preparing your InDesign documents for sending to print or exporting as digital files shouldn’t take up hours of your time. This quick guide will make short work of the job.
You’ve sweated the design and all the details; and now it’s time to proof the final files for printing.
“Proofing ensures your InDesign documents are error-free, both in terms of content (e.g. overset text) and technical quality (e.g. color suitability [CMYK or RGB] and image resolution),” writes Grace Fussell in Evato’s tutorial blog.
“If you take just a few minutes to proof your work, you’re more likely to have a better-quality, error-free final result, so it’s always worth doing. The good news is that InDesign helps you with the proofing process by providing tools and panels that do some of the hard work for you,” she continues.
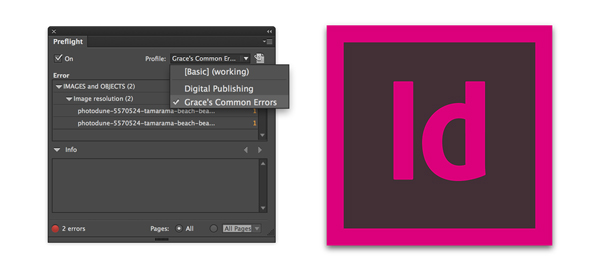
Fussell offers an excellent guide to quickly making sure those final files are in perfect shape. She recommends using InDesign’s Preflight panel to spot and fix any technical problems.
“Preflight not only identifies the error, but also helps you to find a solution via the Info window on the bottom half of the panel,” Fussell explains. “Click on the arrow next to ‘Info’ to expand it. With any error selected, the Info panel will spell out the Problem, and suggest a Fix. In this example, I’m instructed to go to the Links panel and Relink the missing image file.”
If you use InDesign, you may want to customize your preflight profile to accommodate your specific document style.
“Say, for example, you always have issues with color when you go to print, or you have a tendency to use low-resolution images. You can adjust your Preflight profile to pick up on these specific errors,” says Fussell.
“It really is super simple and quick. Once you have created a customised Preflight profile, InDesign will preserve it for you, ready for whenever you create a new document in InDesign. Get in the routine of using your Preflight profile and you won’t have to be disappointed with your final result ever again!”
